diy-buzz-cut
How to Give Yourself a Buzz Cut at Home
A beginner-safe workflow for choosing a guard, setting up mirrors, cutting in passes, checking missed spots, and cleaning your clippers.
Evidence standard
How this page earns its answer
This guide is written around one search intent, one primary query, and a conservative grooming next step. It does not claim barber, dermatologist, or medical review.
- Primary query
- how to give yourself a buzz cut
- Intent
- informational / consideration
- Cluster
- diy-buzz-cut
- Reviewed
- Owner on 2026-06-18
Original value
Turns a self buzz cut into a conservative staged workflow with mirror, guard, review, and cleanup checkpoints.
Learning how to give yourself a buzz cut is mostly a preparation problem. The haircut gets easier when you choose a starting guard, set up the mirror angle, clear the area, and decide how you will inspect missed spots before you turn the clippers on.
This guide is for a simple even buzz cut. It does not try to teach a skin fade, taper, or barber-level blend. A clean even cut is already enough for a first self-cut.
Quick Answer
Start with clean, dry hair. Choose a guard longer than your final target. Cut the top first with slow overlapping passes, then the sides, then the back. Brush away loose hair before judging. Repeat the same guard to fix missed spots. Step down only after the whole head has been checked.
Tools To Prepare
- Clippers with a full guard set.
- A longer first guard and your likely final guard.
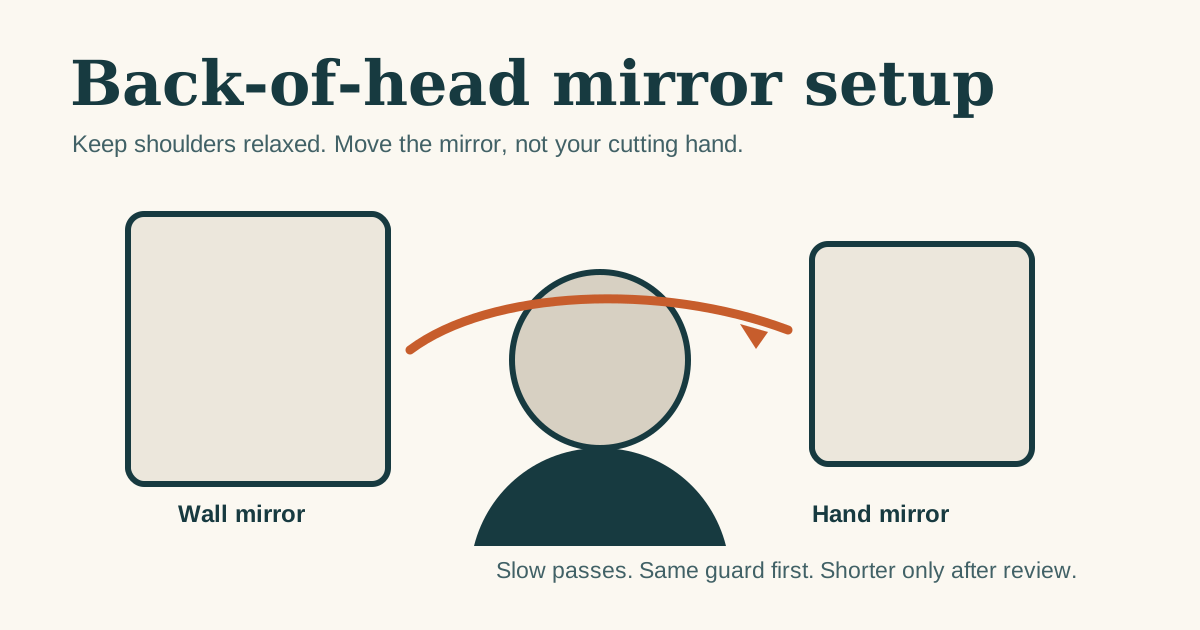
- Wall mirror plus handheld mirror, or a three-way mirror.
- Towel, cape, or old shirt.
- Small brush or comb for loose clippings.
- Good lighting from more than one angle.
- Blade brush and clipper oil if your manual calls for it.
- Sunscreen or a hat if the cut exposes more scalp than usual.
The mirror is not optional. Most bad self buzz cuts are caused by cutting areas you cannot see or feel well, not by using the wrong brand of clipper.
Before You Start
Use the clipper guard sizes chart before choosing a length. If you are deciding between two guards, start with the longer one.
Before turning on the clipper:
- Charge the clipper or use a safe cord setup.
- Snap the guard on firmly.
- Check the lever position.
- Practice the pass with the clipper off.
- Decide where you will stop if the cut feels too short.
Stopping rules matter. They keep a normal first-cut surprise from becoming a rushed correction.
Step 1: Cut The Top First
Start at the front hairline and move back in slow overlapping passes. Keep the guard flat against the head. Do not scoop away too early at the crown because that can leave a longer patch.
After the first top pass, brush loose hair away and look at the shape. Do not switch guards yet. If the top still feels long, repeat the same guard before going shorter.
Step 2: Cut The Sides
Move from sideburn area upward toward the top. Keep the same guard unless you already know how to blend. For a first buzz cut, an even guard is safer than trying to create a fade.
Pay attention behind the ears. That area is easy to miss because the head curves and the ear blocks the clipper path.
Step 3: Cut The Back
The back is the hard part. Use the dedicated how to buzz the back of your head guide if you feel uncertain.
For the main pass:
- Start at the nape.
- Move upward in overlapping strips.
- Keep the guard flat.
- Use shorter passes around the crown.
- Turn the clipper off and feel for ridges with your palm.
If you find a missed patch, repeat the same guard first. Do not immediately drop to a shorter guard.
Step 4: Review Before Going Shorter
A buzz cut often looks uneven while loose hair is still sitting on the scalp. Brush it away, wash if needed, and check again in bright light.
Review these zones:
| Zone | What to check |
|---|---|
| Front | Hairline shape and whether the first guard feels too long or too short. |
| Top | Even texture and no obvious ridges. |
| Crown | Swirl direction and missed patches. |
| Sides | Matching density and clean sideburn area. |
| Back | Center strip, behind ears, and neckline. |
Only step down after the full head has been reviewed.
Step 5: Clean The Neckline Carefully
A perfect neckline is harder than an even buzz. If you are using a trimmer, make tiny changes. A slightly natural neckline is easier to live with than a neckline pushed too high.
If you cannot see the neckline clearly, stop. Ask someone to check it or leave it for a barber cleanup.
Step 6: Clean The Clippers
Brush hair from the blade and guards. Oil the blade if your manual calls for it. Store the guards where the numbers are easy to see before the next cut.
Clipper maintenance is part of haircut quality. Dirty blades can pull, heat up, or cut unevenly.
When To Pause
Pause if:
- The guard pops off or feels loose.
- The clipper pulls hair.
- The blade gets hot.
- You see painful, irritated, or broken skin.
- You feel yourself rushing to fix one patch.
The best self-cut skill is knowing when to stop.
What To Read Next
Use the buzz cut guard size converter before the next trim, then read scalp care after buzz cut if the shorter length exposes more skin.
Step checklist
How to give yourself a buzz cut
A conservative at-home buzz cut workflow for beginners.
- Start with clean dry hair: Dry hair shows length and density more honestly than wet hair and is easier for clippers to cut evenly.
- Choose a longer first guard: Pick one or two guard sizes longer than your final target so you have room to review and step down.
- Set up two mirrors: Use a wall mirror and handheld mirror, or a three-way mirror, before turning on the clippers.
- Cut in slow overlapping passes: Keep the guard flat and overlap each pass instead of chasing random patches.
- Check the back and crown: Use touch and mirror angles to find ridges before changing to a shorter guard.
- Clean the neckline conservatively: Make tiny neckline changes and stop before overcorrecting.
- Brush, review, and then decide: Remove loose hair, check in bright light, and only then choose whether to step down.
FAQ
Quick answers
Can I give myself a buzz cut as a beginner?
Yes, if you keep it simple, use one even guard, set up mirrors first, and start longer than the final length you want.
Should I buzz the top or sides first?
Start with the top because it is easier to see and helps you learn the clipper pressure before the harder back section.
What is the biggest self buzz cut mistake?
The biggest mistake is switching to a shorter guard to fix one uneven spot before the whole head has been checked.
Before you cut
Print the at-home buzz cut checklist
A one-page sequence for guard choice, mirror setup, first pass, review, cleanup, and clipper care.