diy-buzz-cut
How to Buzz the Back of Your Head Without Missing Patches
Mirror setup, hand position, touch checks, and rescue steps for the hardest part of an at-home buzz cut.
Evidence standard
How this page earns its answer
This guide is written around one search intent, one primary query, and a conservative grooming next step. It does not claim barber, dermatologist, or medical review.
- Primary query
- how to buzz the back of your head
- Intent
- informational / consideration
- Cluster
- diy-buzz-cut
- Reviewed
- Owner on 2026-06-18
Original value
Focuses on mirror geometry and tactile checking instead of repeating the main buzz cut tutorial.
The back of the head is where most self buzz cuts fail. The problem is not courage. It is geometry: you are cutting a curved surface you cannot see directly.
Treat the back like a separate mini-project. Slow down, use touch, and avoid changing guards just because one area looks uneven.
Quick Answer
Use a wall mirror plus a handheld mirror, or a three-way mirror. Keep your shoulders relaxed. Cut from the nape upward in overlapping strips. At the crown, change direction because the hair often grows in a swirl. After the first pass, turn the clipper off and feel for missed ridges with your palm.
Mirror Setup
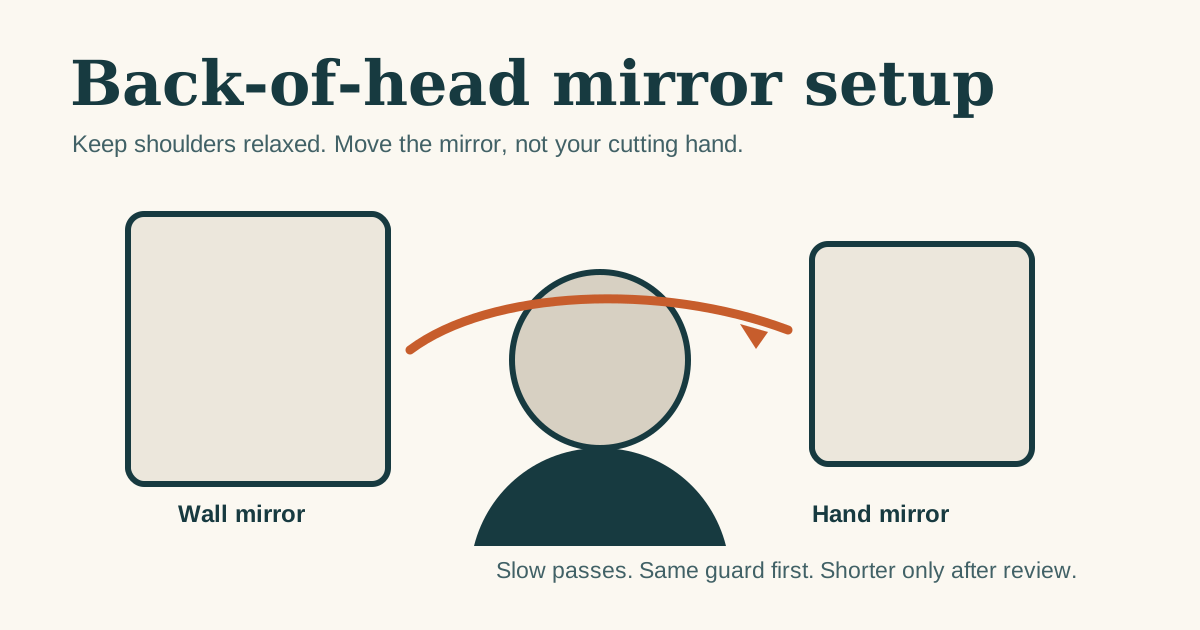
The best mirror setup lets your cutting arm move normally. If seeing the back requires twisting your torso, your wrist will tilt and the guard may lift off the scalp.
Try this setup:
- Face away from a wall mirror.
- Hold a handheld mirror in front of you.
- Angle it until the wall mirror reflects the back of your head.
- Keep both elbows relaxed.
- Practice the clipper path with the clipper turned off.
A three-way mirror can make this easier, but it does not replace slow passes. More visibility helps only if your hand stays steady.
Hand Position
Hold the clipper like a tool, not like a pen. Keep the guard flat against the head and let the shape of the skull guide the pass.
If the clipper starts to chatter, skip, or feel like it is floating, pause and reset the angle. The goal is even contact, not pressure.
Cutting Motion
Move from the nape upward in slow overlapping passes. Each pass should overlap the previous pass by about one guard width. Do not rush the center back just because it is hard to see.
Use this order:
- Center nape upward.
- Left back panel upward.
- Right back panel upward.
- Behind left ear.
- Behind right ear.
- Crown from multiple directions.
Keep the same guard until the entire back has been checked.
Crown Direction
The crown is not a flat surface. Hair often grows in a swirl, so one direction can miss hair that another direction catches.
At the crown:
- Use shorter passes.
- Approach from more than one direction.
- Keep the guard flat.
- Brush loose hair away before judging.
- Feel with your palm before changing guards.
This is especially important if you are using a #2 or shorter, because crown mistakes become easier to see.
Touch Check
After the first pass, turn the clipper off and feel for ridges. Your fingers often find long patches before your eyes do. Brush loose hair away before deciding whether a spot is actually uneven.
Use three touch checks:
- Palm flat over the crown.
- Fingers behind each ear.
- Palm moving upward from neckline to crown.
If one patch feels longer, repeat the same guard over that patch with light pressure.
Neckline Reality
A perfect neckline is harder than an even buzz. For a first self-cut, a clean natural neckline is safer than aggressive shaping. If you use a trimmer, make tiny adjustments and stop early.
Overcorrecting the neckline is more visible than leaving it slightly natural.
Rescue Rule
If the back looks patchy, do not keep chasing tiny spots with a shorter guard. Repeat the same guard first. Step down only if the whole haircut needs to be shorter.
If you accidentally create a short patch, the fix is usually to blend the surrounding area slightly, not to take the whole head down immediately. When in doubt, stop and ask a barber to clean up the back.
Next Step
Read the full how to give yourself a buzz cut workflow before the next self-cut, and choose the starting length from the clipper guard sizes chart.
Step checklist
How to buzz the back of your head
A mirror and touch-check workflow for cutting the back section of an even buzz cut.
- Set the mirror angle: Face away from a wall mirror and use a handheld mirror, or use a three-way mirror that lets your cutting arm move naturally.
- Practice with the clipper off: Move from the nape upward while watching the mirror reflection before cutting hair.
- Cut upward in overlapping strips: Keep the guard flat and overlap each pass by about one guard width.
- Change direction at the crown: Use shorter passes from different directions where hair grows in a swirl.
- Use a touch check: Turn the clipper off and feel for ridges behind the ears, at the crown, and up from the neckline.
FAQ
Quick answers
Why is the back of the head hard to buzz?
The back is hard because you are cutting a curved surface you cannot see directly. Mirror angle and hand position matter more than speed.
How do I fix missed patches in the back?
Repeat the same guard over the patch first. Step down only if the entire haircut needs to be shorter.
Do I need a three-way mirror?
A three-way mirror helps, but a wall mirror plus handheld mirror can work if your shoulders stay relaxed and your wrist does not twist.
Back of head
Print the mirror setup checklist
Use a repeatable mirror angle, cutting order, and touch-check pattern before trying the hard-to-see section.